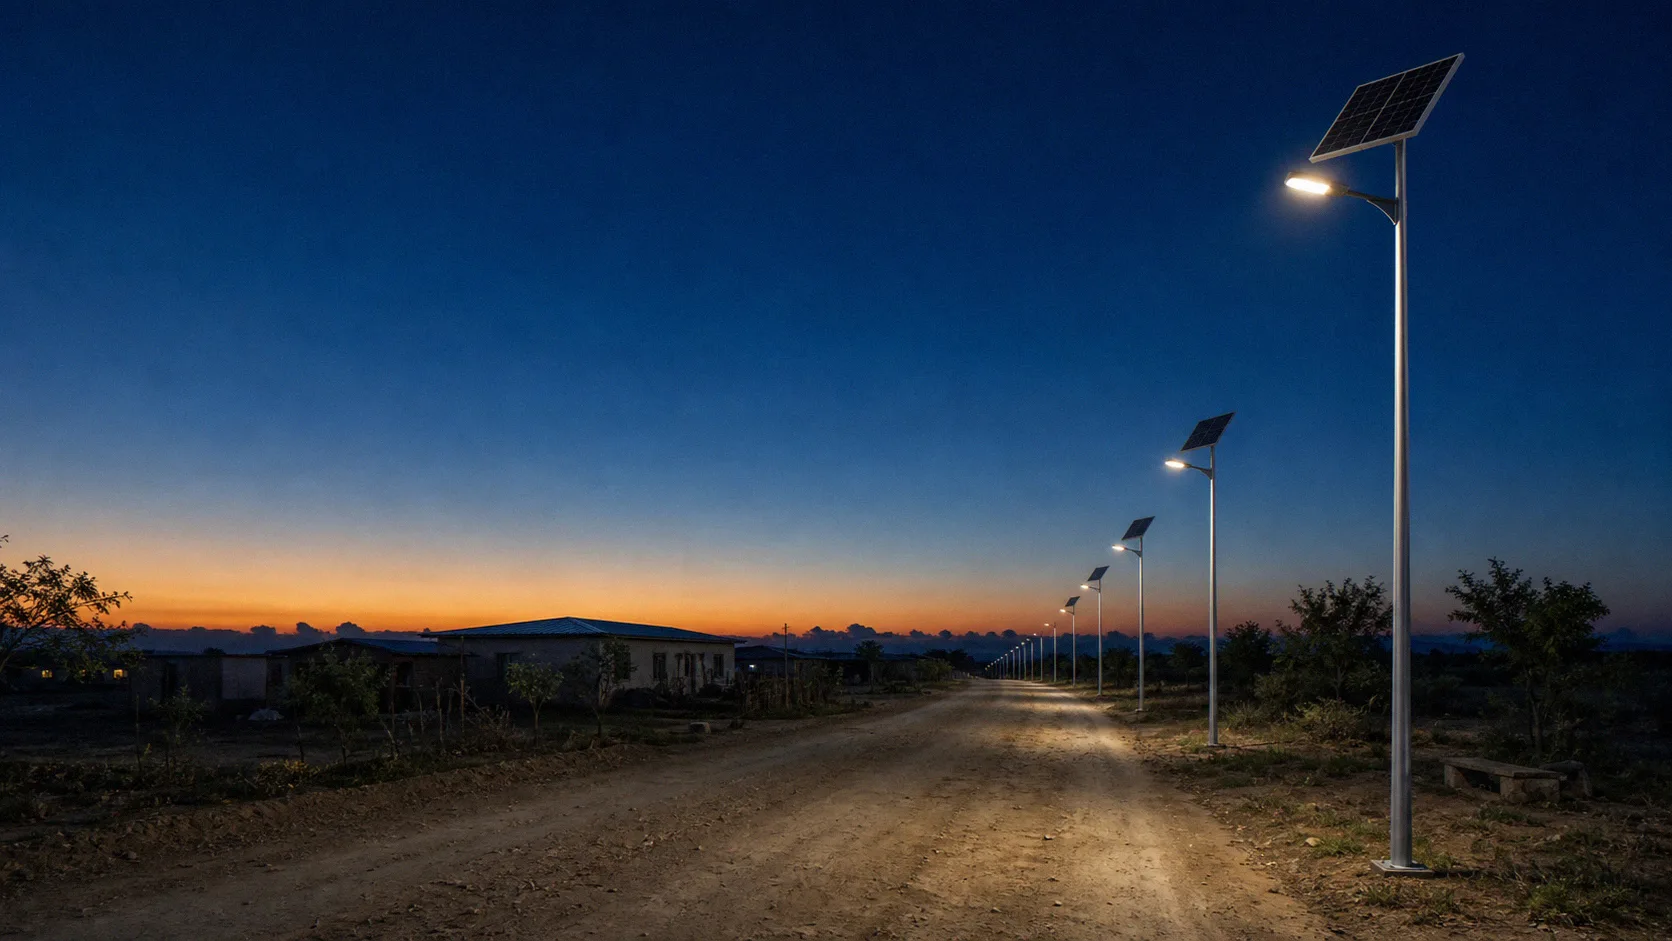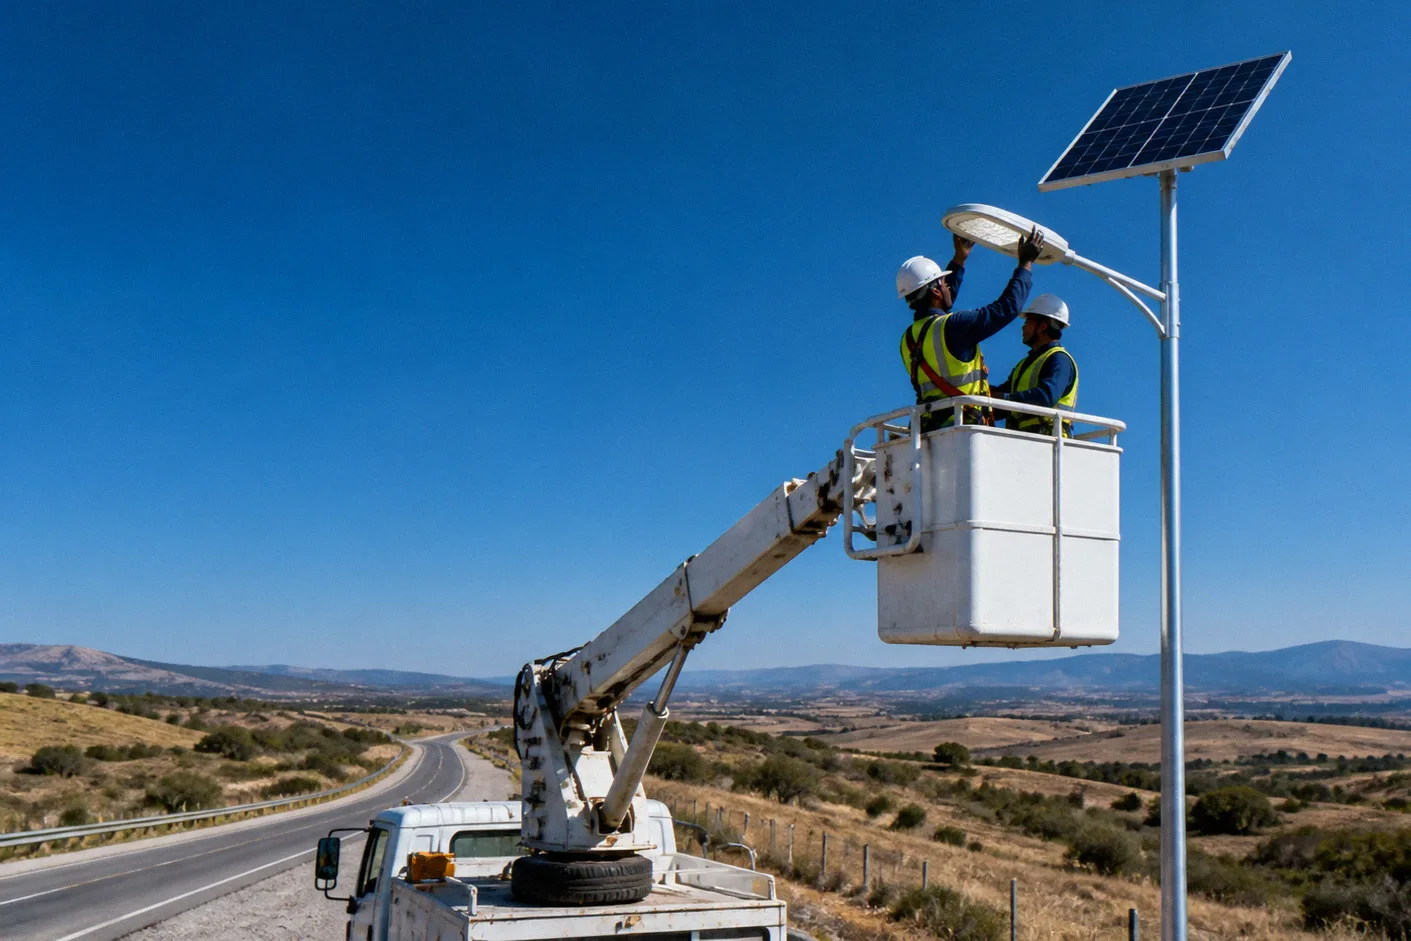
Solar street lights avoid trenching and cabling, which makes installation far simpler than a mains system. It does not make it foolproof. Most early-life failures in solar lighting installations trace back to three site decisions: foundation quality, panel orientation and shading. Here is a working sequence.
1. Confirm the layout before digging
Pole positions come from the lighting calculation, not from convenience. Spacing and mounting height together determine whether the road meets its uniformity requirement, so a pole moved ten metres to avoid an obstruction changes the photometric result. If site conditions force a change, have the layout re-checked — Mast Lighting re-runs the Dialux simulation on request.
2. Foundations and anchor bolts
Cast the foundation to the anchor bolt cage supplied with the pole, with the bolt template level and correctly oriented. Concrete must reach adequate strength before the pole is erected. Bolt projection and thread protection matter: a damaged thread found on erection day stops the work.
3. Erect the pole and check verticality
Mast Lighting poles are hot-dip galvanized inside and out and engineered to withstand winds up to Grade 12 typhoon level, but that rating assumes correct erection. Check plumb in two planes, tighten to the specified torque and fit the levelling nuts and grout as designed. Confirm the earthing connection.
4. Orient the solar panel
This is the step most often rushed. The panel should face the equator — south in the northern hemisphere, north in the southern — at the tilt angle specified for the site latitude. A panel aimed at a convenient angle rather than the specified one loses charge every single day of its life, and the deficit appears as failure during the first cloudy week.
5. Check for shading across the whole day
Shade that does not exist at 10am may cover the panel at 4pm, and a tree that clears the panel this year will not in three years. Walk the site at different times, look at the sun path, and account for growth. Partial shading on a panel costs disproportionately more output than its area suggests.
6. Commissioning checks
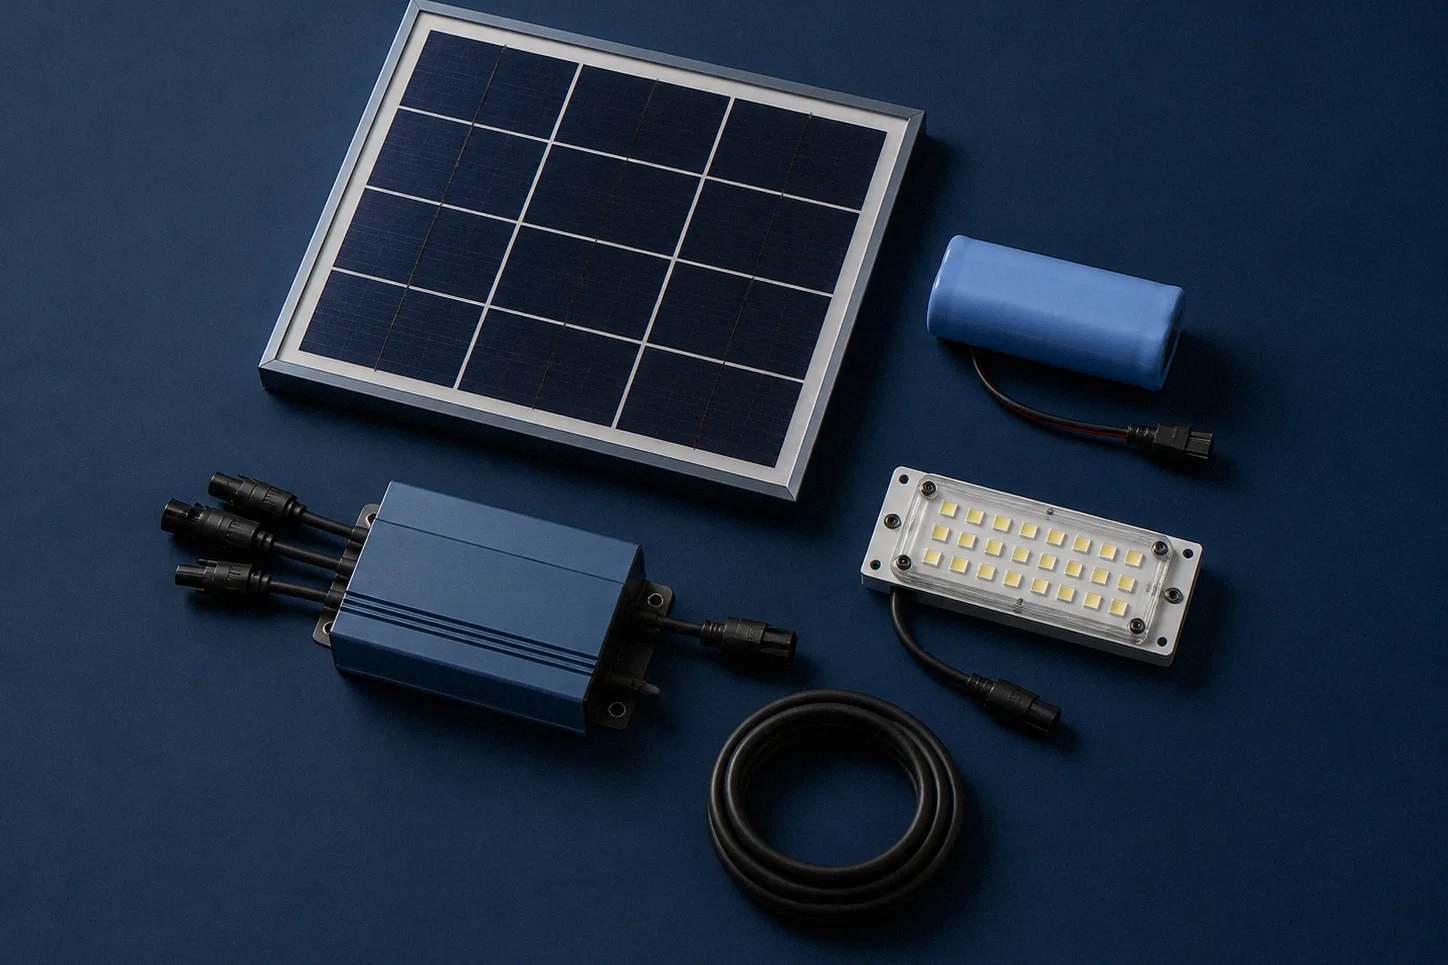
- Confirm the controller enters night mode when the panel is covered
- Verify the dimming or PIR profile behaves as specified
- Check the luminaire aiming angle matches the design
- Record battery voltage and confirm charging current in daylight
- Test any remote control, APP monitoring or fault alarm functions
7. Maintenance expectations
Solar lighting is low-maintenance, not no-maintenance. Panel surfaces accumulate dust — significantly so in arid and construction-adjacent environments — and a dirty panel is a smaller panel. Periodic cleaning is the single highest-value maintenance action. LiFePO4 batteries carry a typical 5–8 year service life, and Mast Lighting solar street lights carry a 3-year warranty with remote troubleshooting and maintenance guidance included.
Common avoidable failures
- Wrong panel orientation or tilt — permanent daily charge deficit
- Unnoticed afternoon shading — intermittent failures that look like battery faults
- Spacing changed on site — dark patches and failed uniformity
- Undersized autonomy — reliable in the dry season, dark in the wet season
- Panels never cleaned — gradual, unexplained decline in runtime